Hey everyone! Today I wanted to talk to you about a product that I tried. Getting the perfect smile is so hard. There are so many different types of whitening strips and it is so difficult to figure out which ones actually work. I have used a few different whitening strips in the past, none of which really worked. So, when Smile Brilliant reached out to me about their whitening kit, I was a little bit skeptical at first. But, I ended up being pleasantly surprised by the product and how easy it was to use.
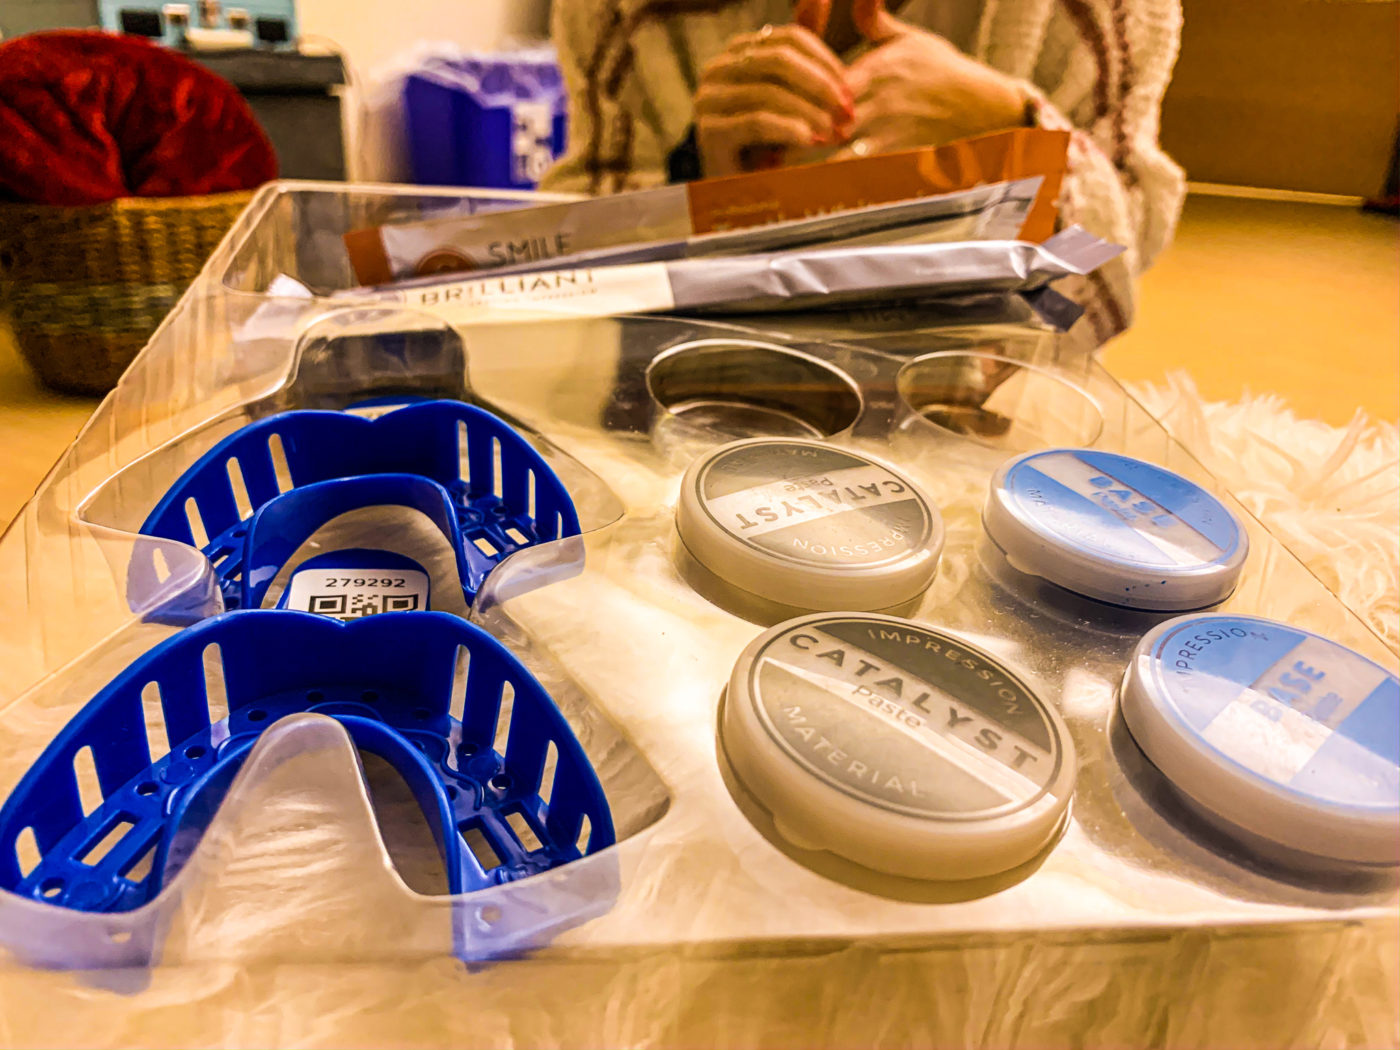
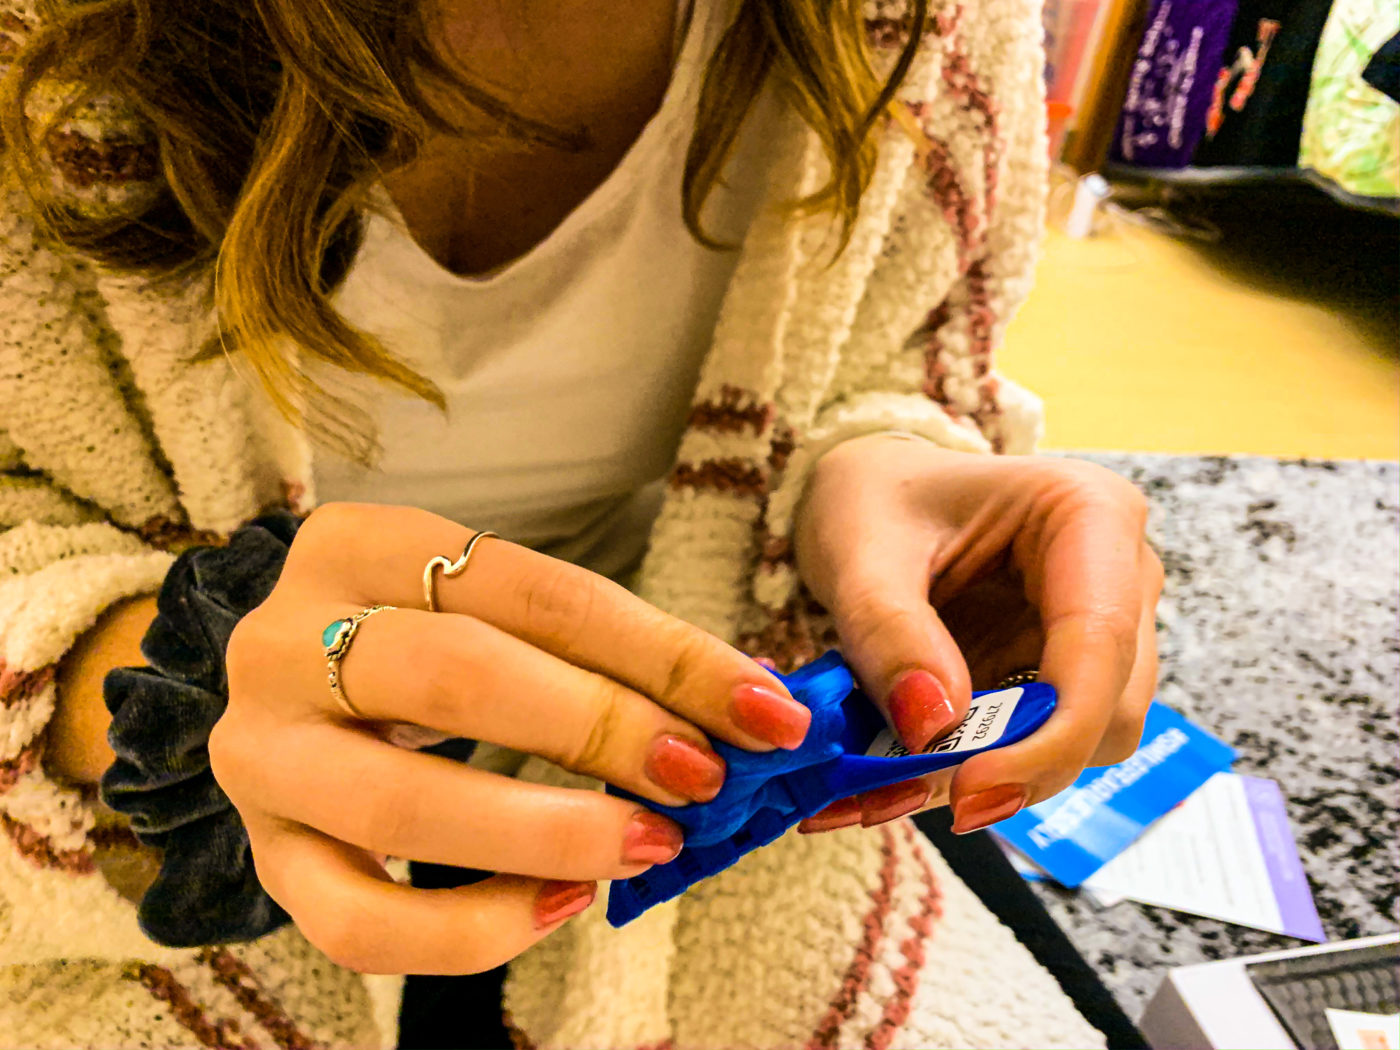
There are a few steps you have to take to get your brilliant smile. The first step is creating your impressions. I love that the whitening strips fit to your teeth because they don’t fall off like a lot of other strips do. You will receive a clay like material as well as a trays for the top and bottom teeth. You then fill the tray up with the molding clay, press your teeth into it and hold it in place until it starts to harden. Once you have your molds, you mail them back to Smile Brilliant in a prepaid, labeled envelope. Super, super easy. Then you wait for your custom whitening trays!
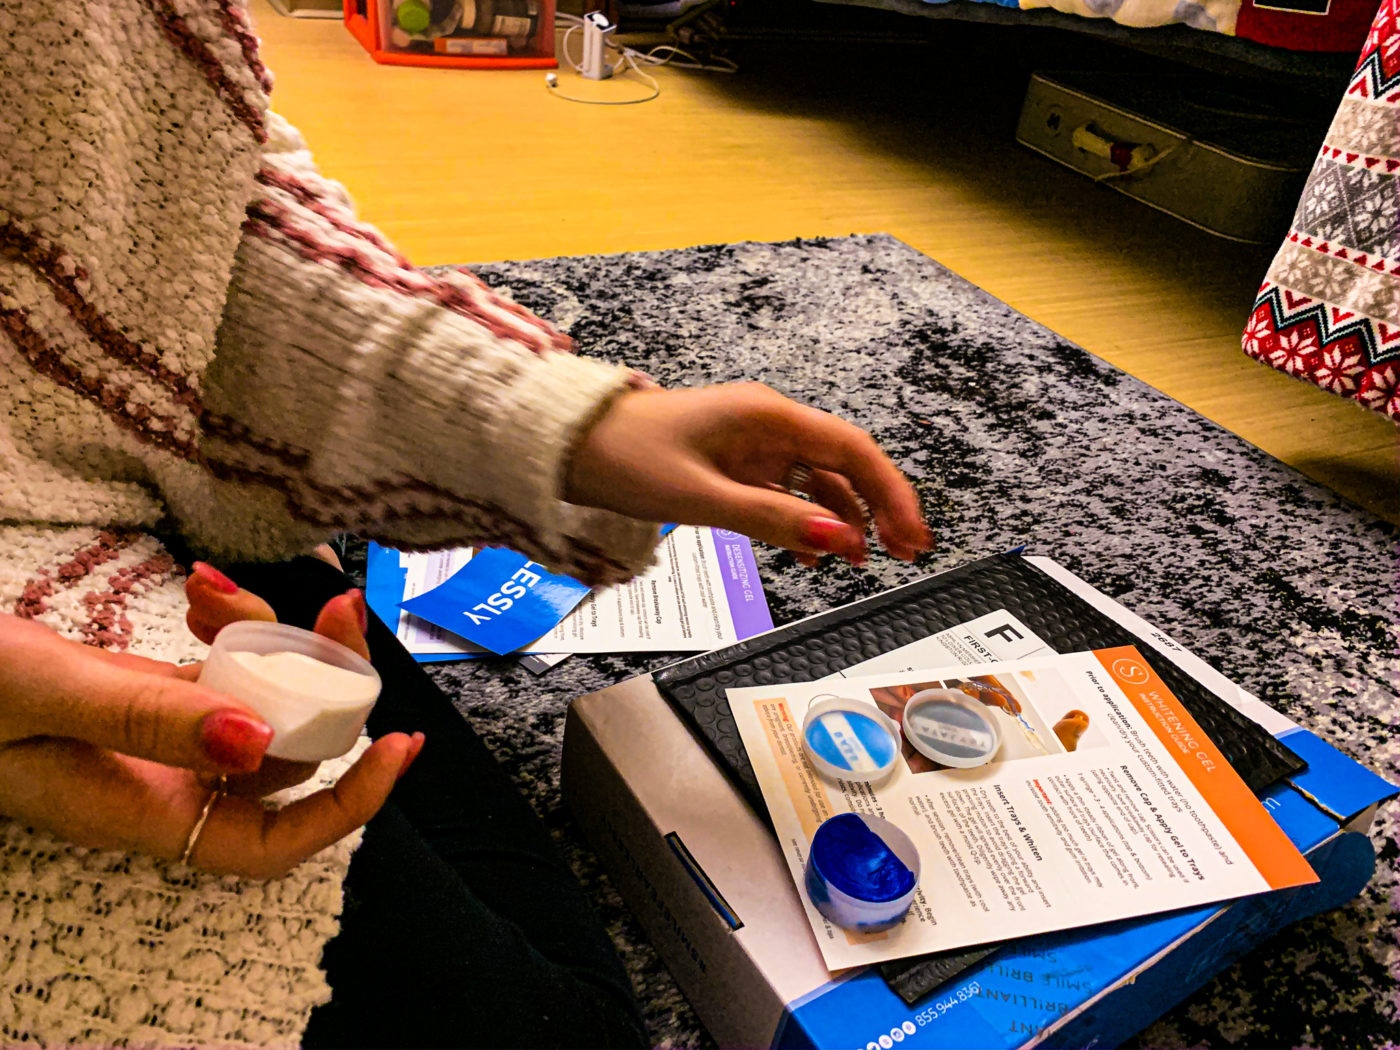
When my whitening strips came in, I started using them every night. It was really easy to incorporate teeth whitening into my nightly routine. First, I brushed my teeth with just water. Then, I squeezed the whitening strips into the trays. You can leave the trays in for 45 minutes to 3 hours. I started off leaving them in for 45 minutes but after using it for a few days, I started leaving them in for an hour and a half. At first, I thought it would be so uncomfortable to leave the trays in for so long, but I quickly forgot that they were even there. After whitening, I brushed my teeth as normally would, with a non whitening toothpaste. Then, I cleaned the trays with water and used desensitizing gel for 20 minutes. (Tip: don’t eat or drink for about an hour after each session.) That is why I did it at night, so that way, I didn’t have to eat after. And that is it! I did this for the full 2 weeks.
Also, keep in mind that you may experience some sensitivity. To be completely honest, there were only a few times where I experienced sensitivity. I thought it was going to be much worse! I just stuck to the instructions and made sure to keep track of how long I had the trays in for.
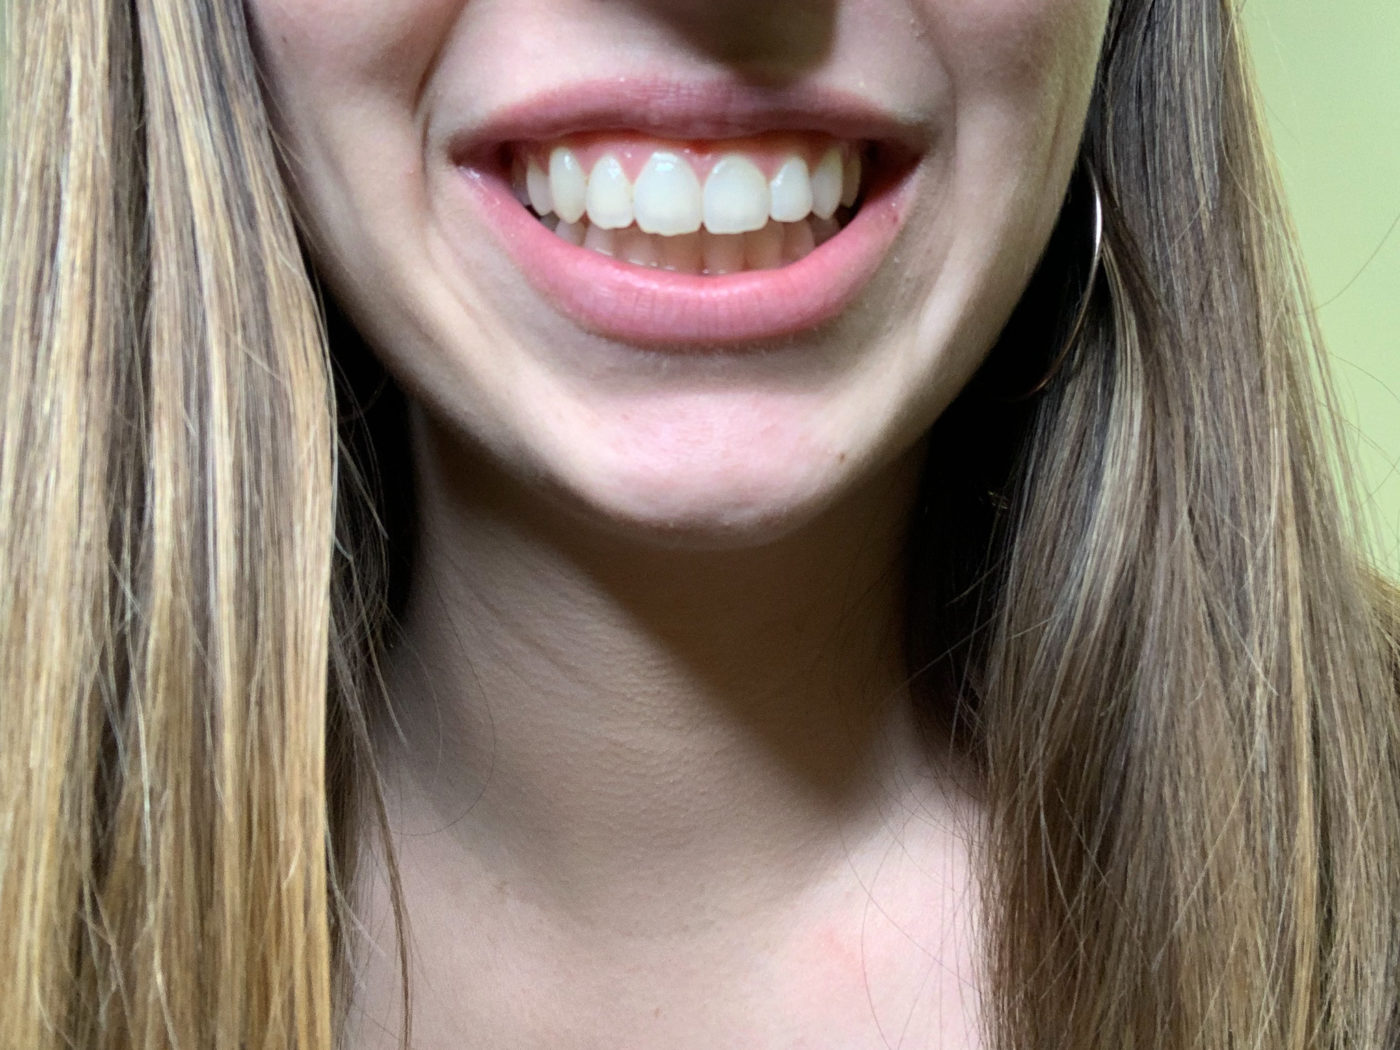
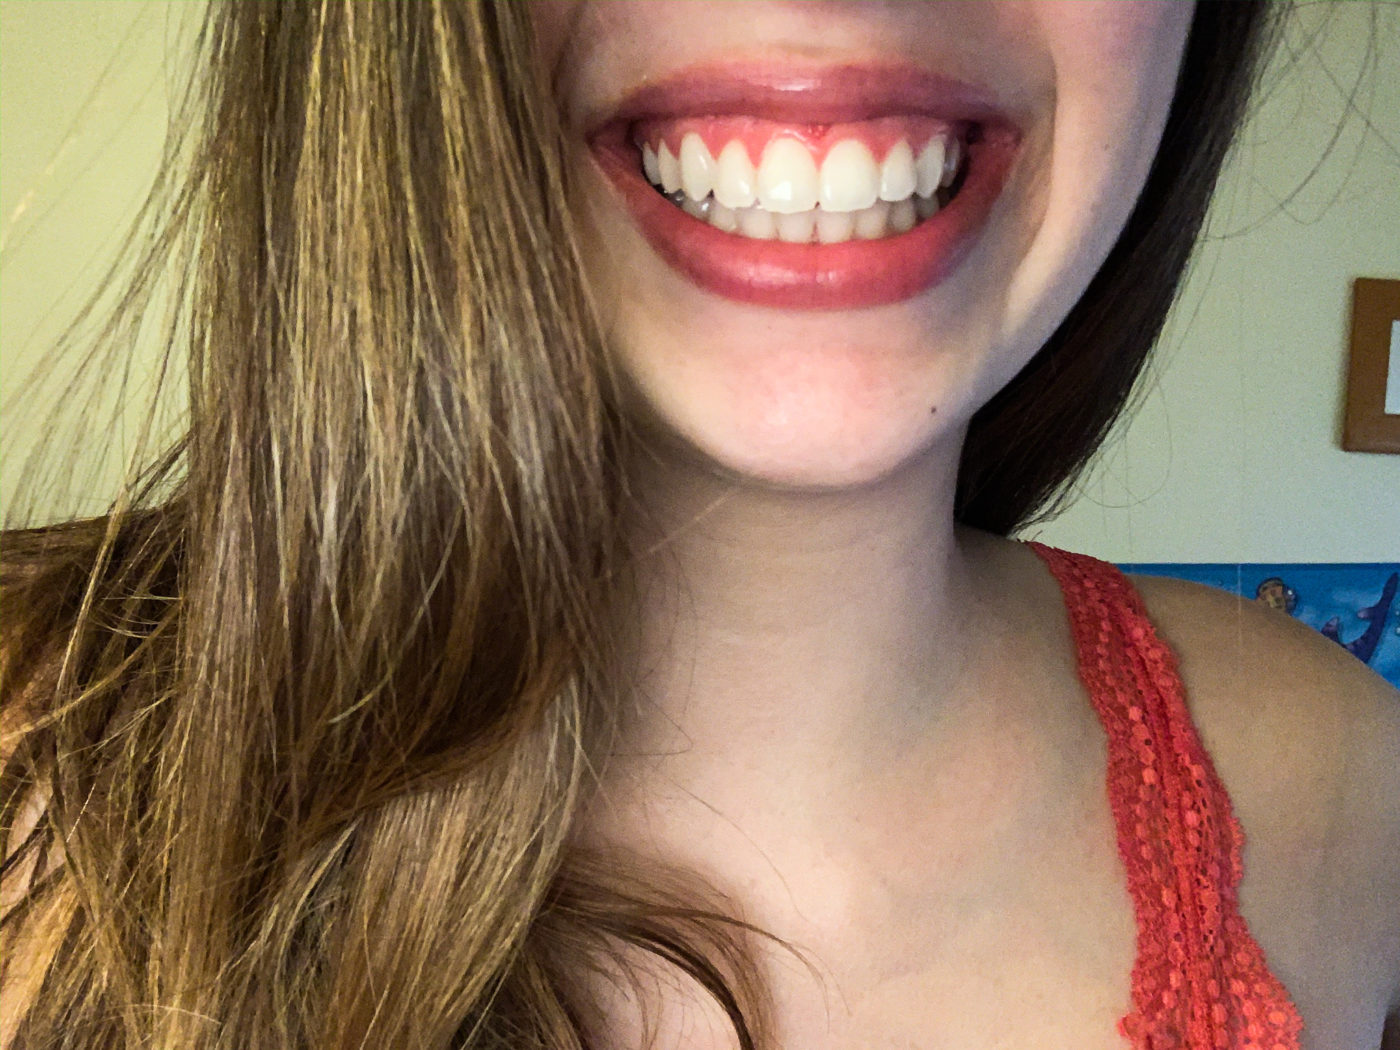
I have noticed a difference in my smile and other people have too. I have always taken really good care of my teeth (because my parents spent so much money on my braces!) So, I was interested to see what my teeth would look like after using this product, because I started off with my teeth being on the whiter side. To my surprise, my teeth just feel more bright and whiter than before. My experience using this product has definitely been a positive one, and I would recommend giving it a try if you are looking for an extra sparkle in your smile!
GIVEAWAY: If you would like a chance to win your very own Smile Brilliant Teeth Whiting Kit, click the link below! Even if you don’t win, you will receive a discount simply for entering.
https://www.smilebrilliant.com/g/signedashlyncom
Also, you can use the code signedashlyncom15 for 15% off any tray set!!
Disclaimer: I collaborated with Smile Brilliant for this blog. All opinions are my own!
Thank you so much for reading today’s blog! If you liked it, make sure to subscribe for email notifications when I upload and subscribe to my Instagram for more content! I have some super fun blogs coming up!!!
Stay safe!
Signed,
Ashlyn
You have a beautiful smile Ashlyn!!!!
Author
Thank you so much!