I am SUPER excited to be sharing this blog with you…finally! I decided that I really wanted to make some T-shirts and sweatshirts for my blog. I had been interested in these for a while and I really wanted to create a strong design for my blog. Today, I want to share with you not only what the design looked like but what the process is like for creating a design so that if you are interested, you can make one of your own. So here we go!

Step 1: Brainstorm
The first step to creating a design is to brainstorm ideas. I knew from the start that I wanted my design to showcase the moment that I decided I wanted to incorporate writing into my life. This actually happened a while ago. About 4-5 years ago. At this point, I had not created my blog yet, and honestly, blogging wasn’t even on my radar. But, I do remember an exact moment where I decided that I wanted to work hard to incorporate my passion for writing into my life, more than just writing in a journal. This moment was in New York City. I was sitting on a giant rock in Central Park with my journal writing about how quiet it felt in such a crazy city. Sitting in one of my favorite places, writing made me realize how much I really love it. Thus, the idea was born.
Step 2: Sketch it Out
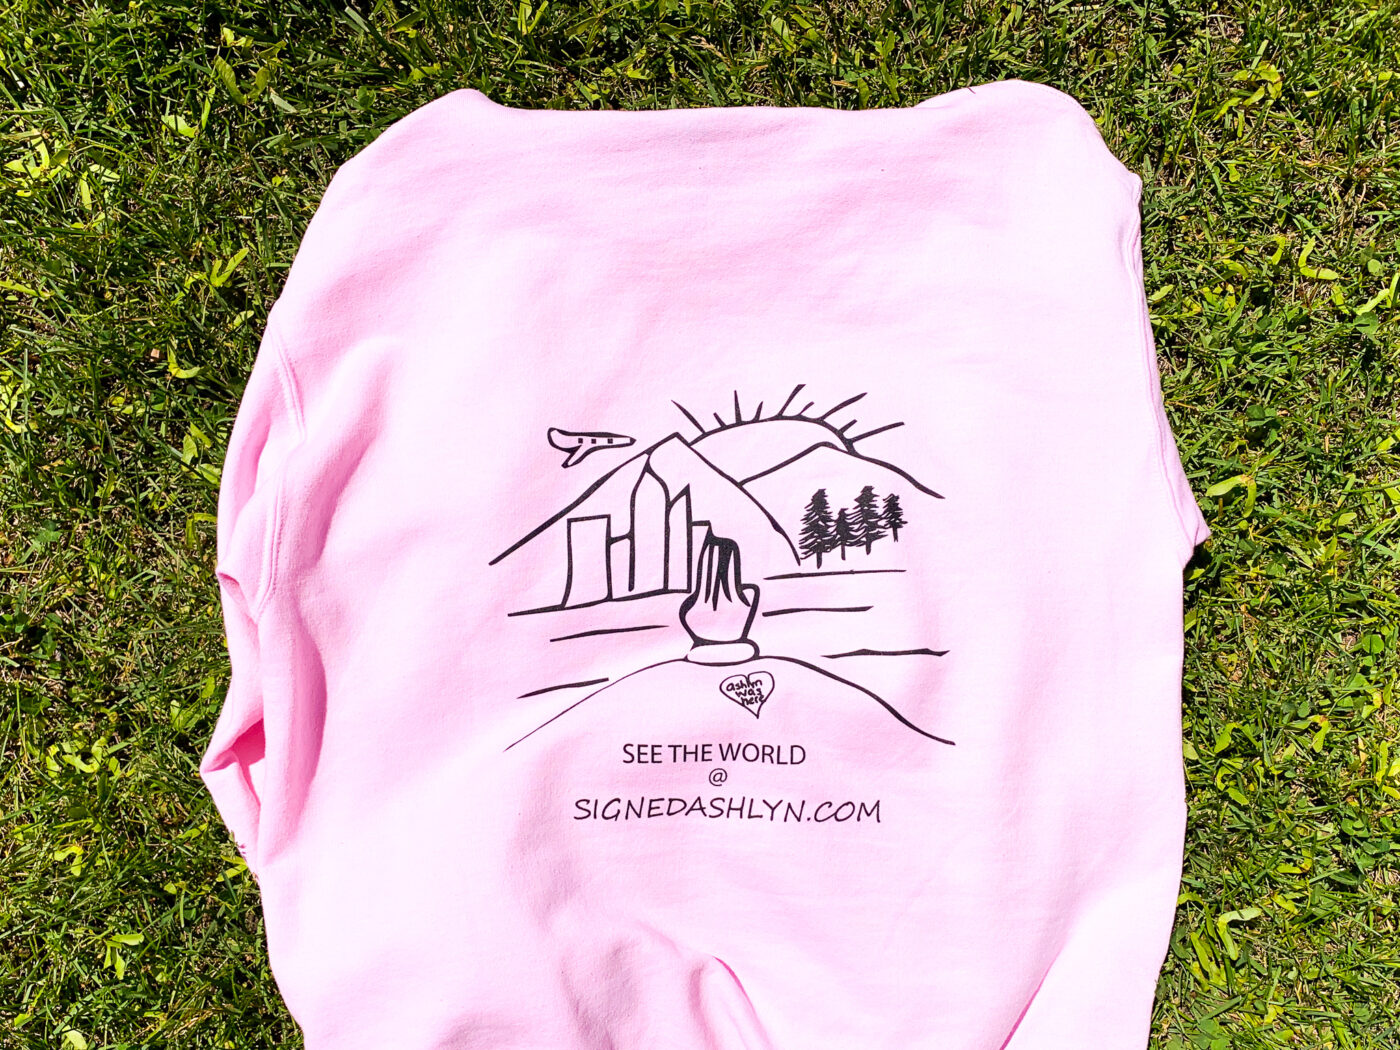
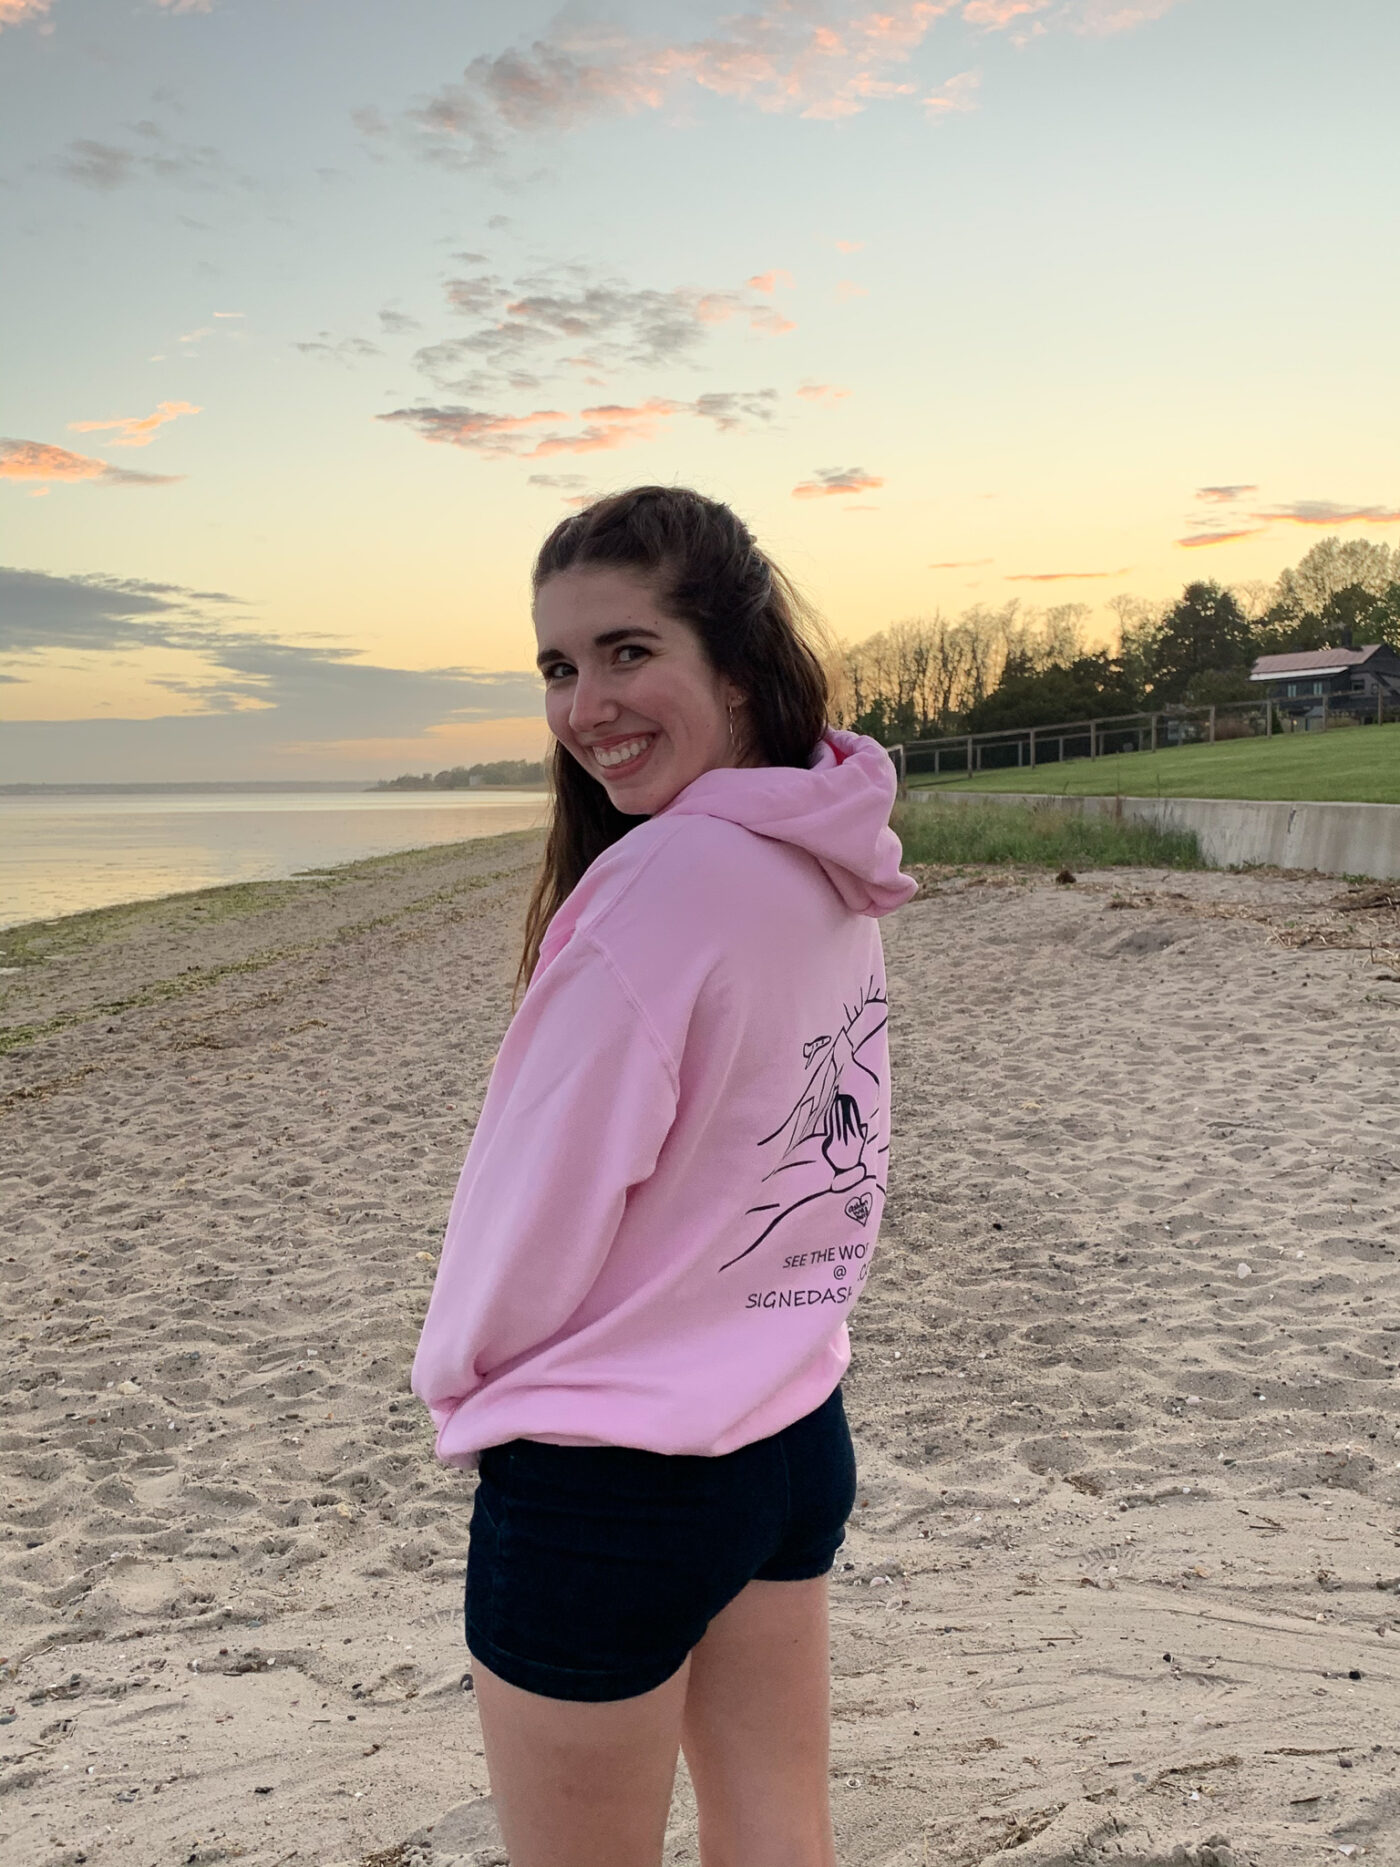
I am not artistic. At all. I can barely draw a stick figure. So, I had to get some help with this part. Luckily, my Dad is pretty artistic so I drew him a VERY rough sketch of what I wanted and he made it perfect. Like I said before, I knew I wanted to capture the moment of sitting on the rock writing in my journal in New York City. In addition to that, I wanted the design to show what my blog is. So, my Dad came up with the phrase “see the world @signedashlyn.com because one main thing I love to write about on the blog is travel. We also added an airplane, mountains, water and trees to represent all the different places you can read about on my blog.
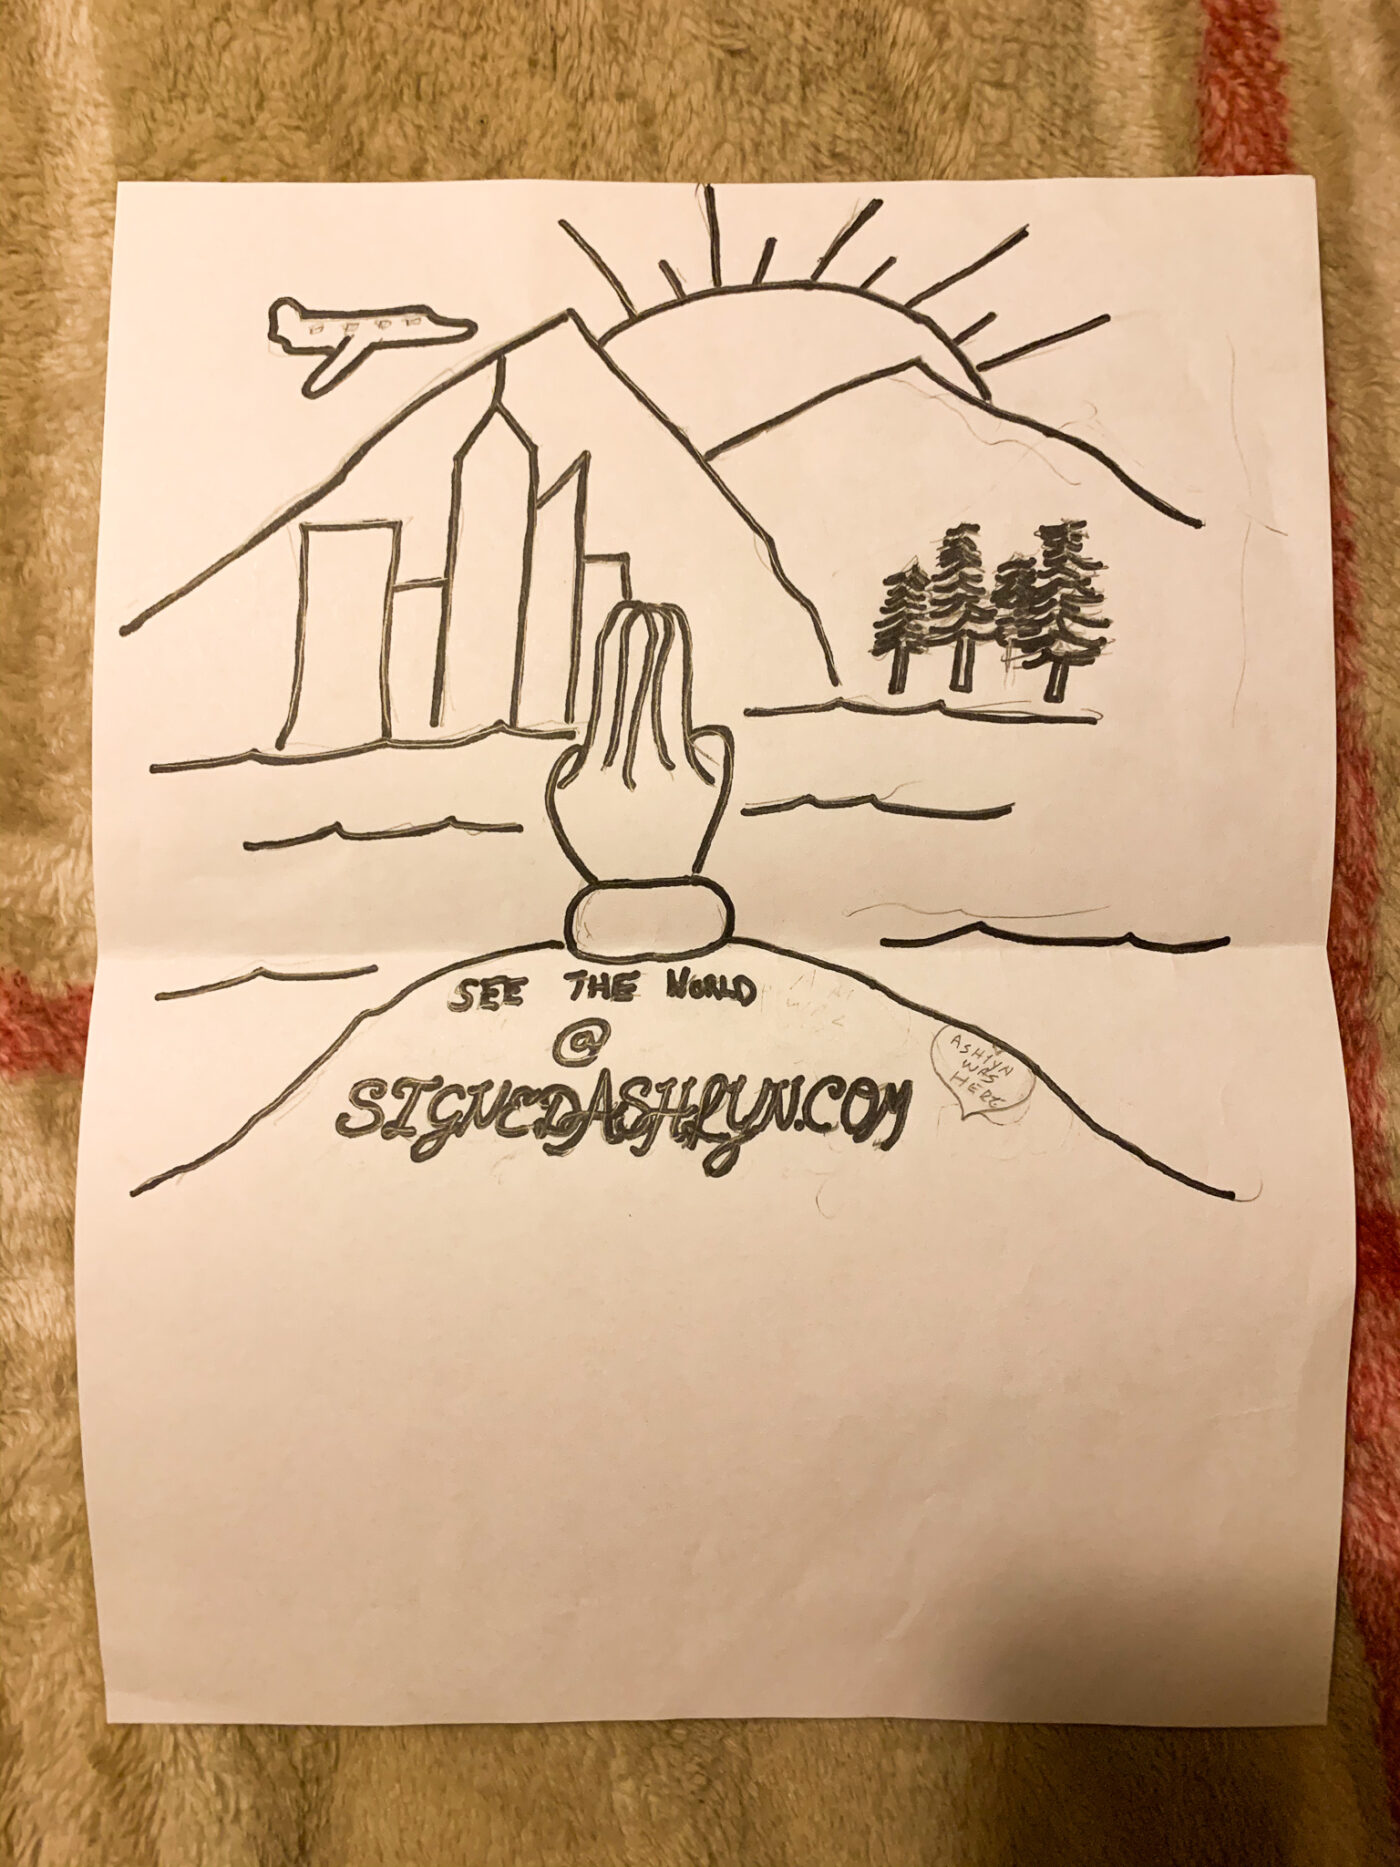
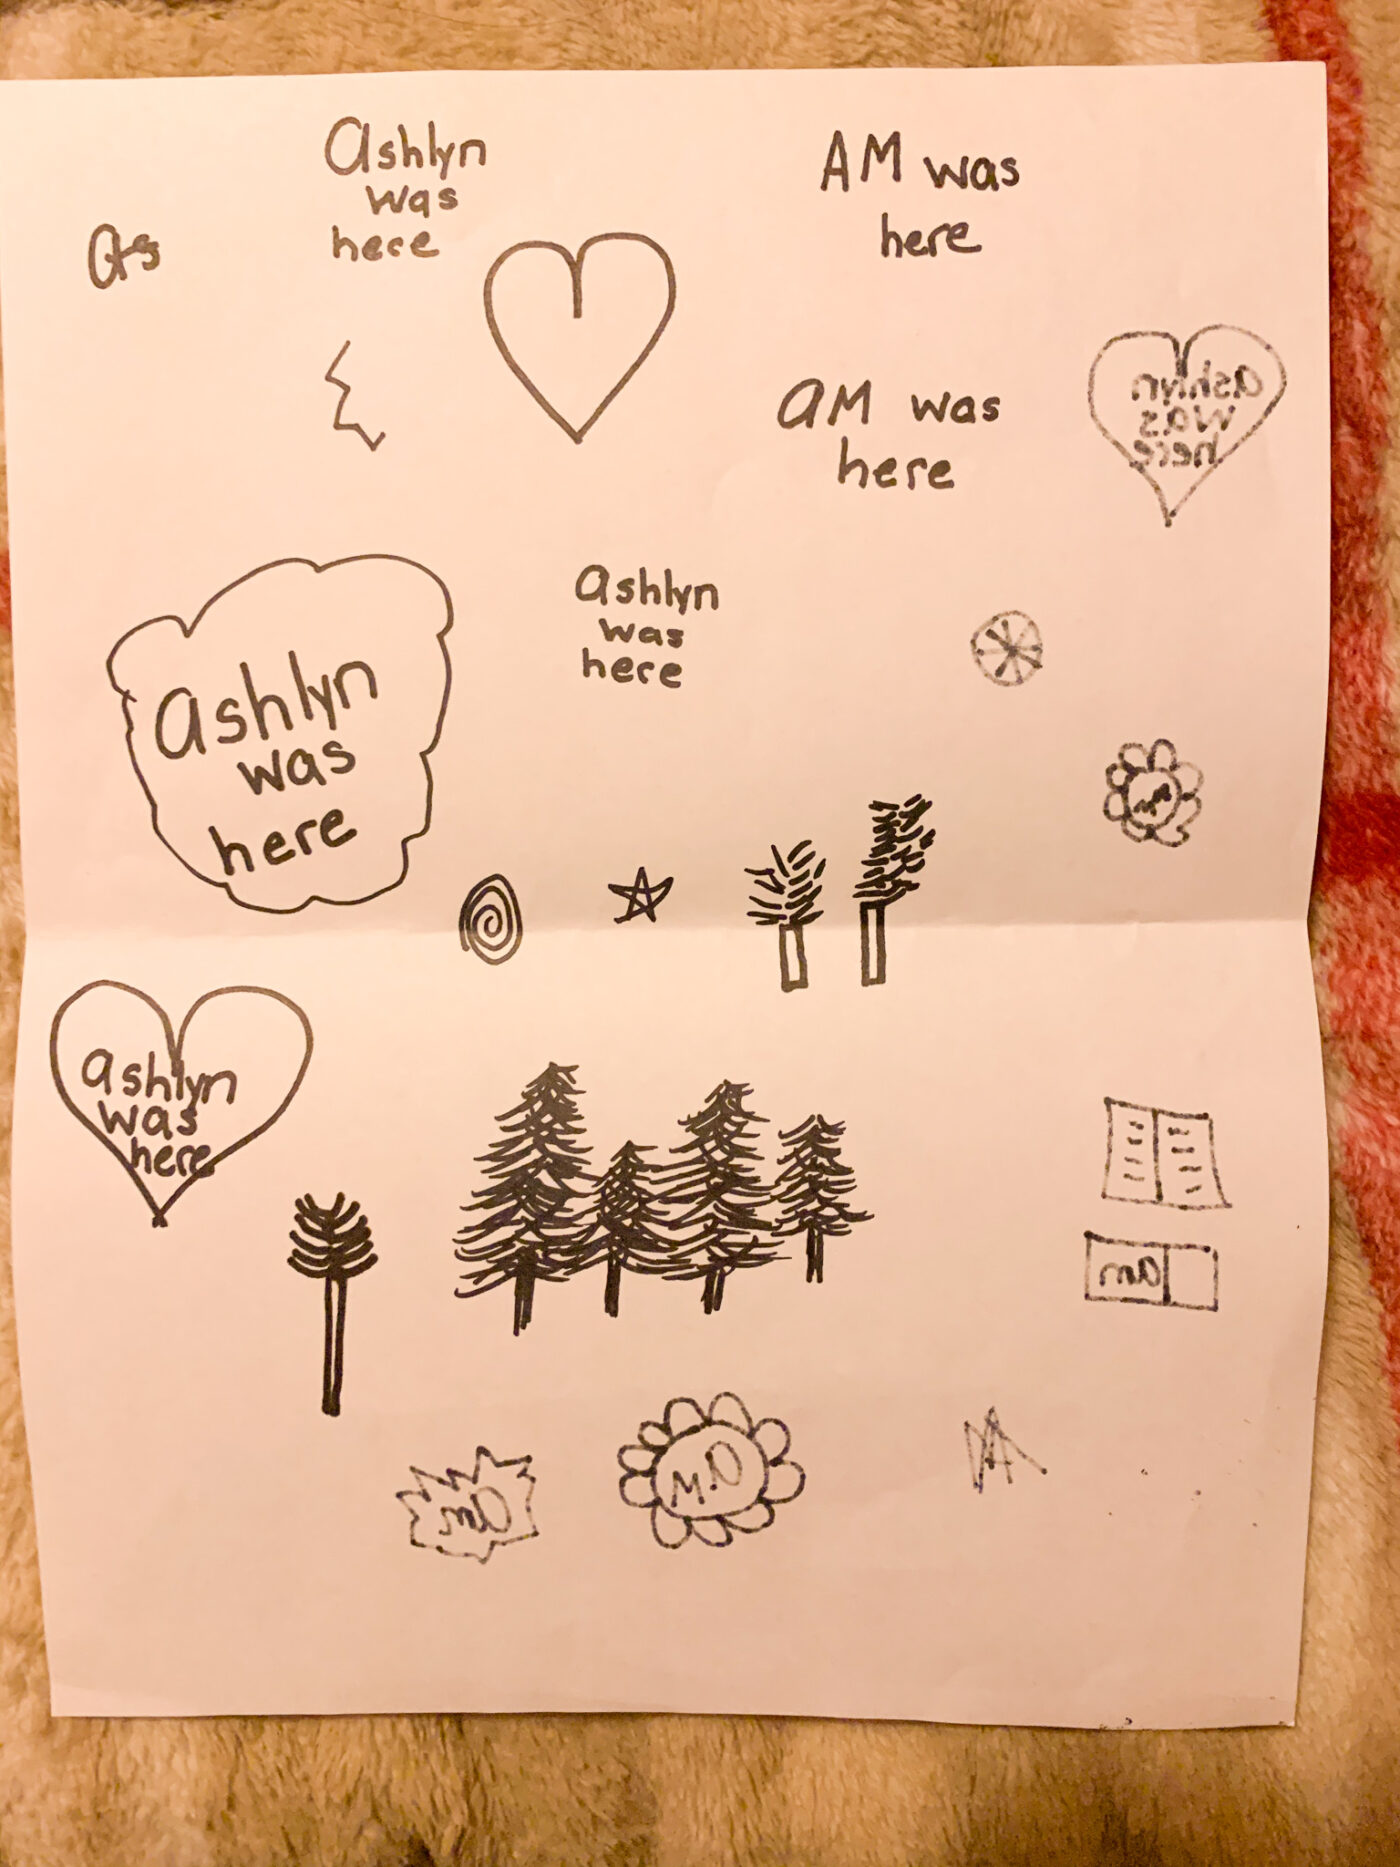
I also knew that I wanted to add a really personal touch to the design. So, I wanted to draw a heart in the rock with the writing “Ashlyn was here” inside. This symbolizes me carving the rock. In order to do this, I had to write it over and over again until I got it right.
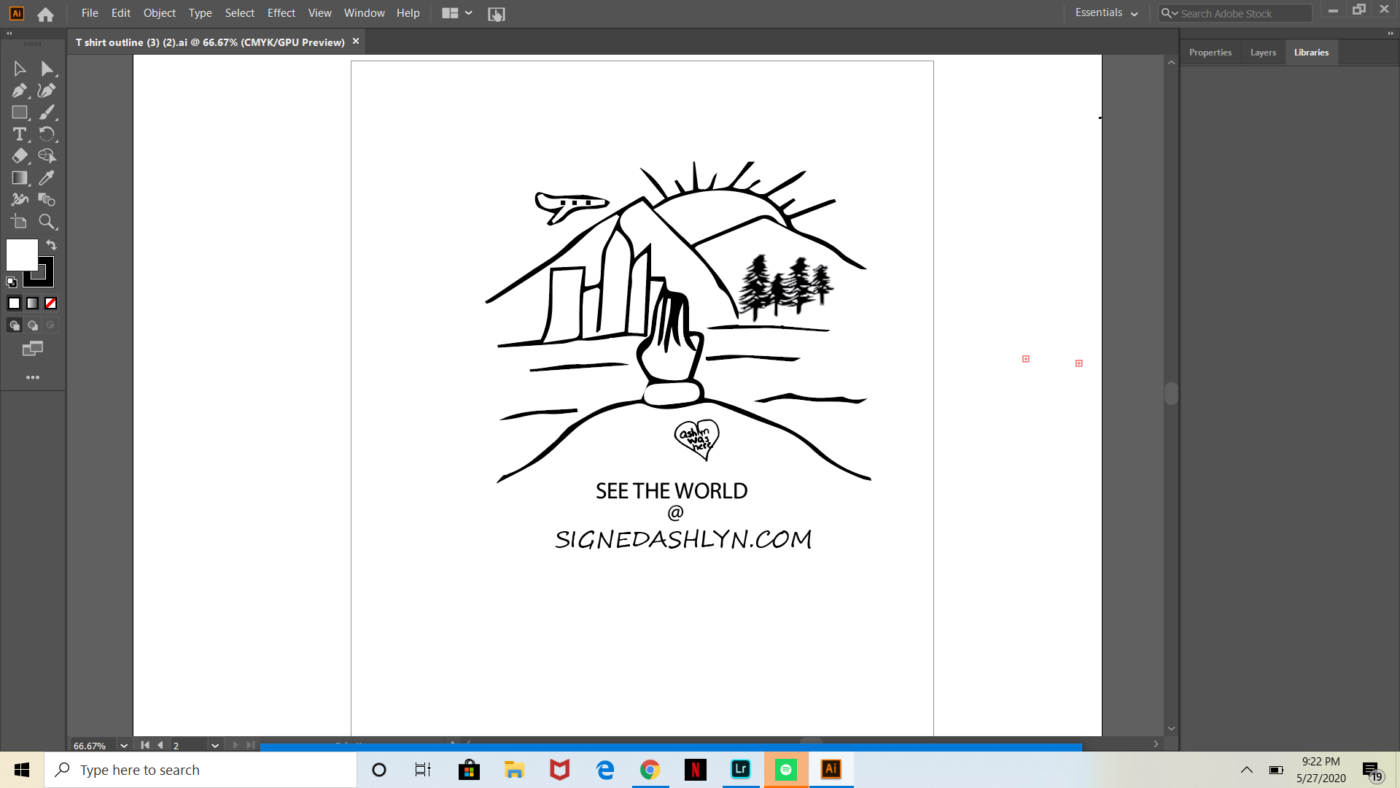
Step 3: Time to Make it Digital
This was the part I was the most nervous about because I have never changed a picture from paper to digital before. After lots of research and help from friends, I decided to use Adobe Illustrator to create my digital design. Adobe Illustrator is definitely a learning curve and I had to practice a lot before I got it right. But, once you get it, it does get easier to use. You do have to pay for Adobe Illustrator, but there is a 1 week free trial so if you want to try it out you can do that! Basically, with Adobe Illustrator, you can upload a sketch and fix up the details. For example, when I uploaded the sketch to Adobe Illustrator, the trees didn’t come out right. So, I had to redraw the trees on paper and then upload the trees to the digital sketch. On Illustrator, you can fix up any loose ends, add text and just make the sketch really come to life.
Step 4: Find a Company to Make the Clothing
Look around and don’t rush! If I had went with the first company I found, I would have ended up paying a lot more! Make sure that you shop around until you find the best deal. If you have any small local businesses around you that create custom clothing, those will often give you the best price and you can also support small business. Once you find a company, you send them your design and tell them what products you want. Most likely, they will send you a proof so you can see what your design is going to look like before you order them. If you like it, approve it and they will get working on your shirts!
Step 5: Rock Your Clothing with Your Friends
I took orders for my clothes before ordering them that way my friends and family could pick what color and what product they wanted. After that, I ordered them and delivered them to everyone. I was able to get so many different colors which I loved because everyone got something a little different.

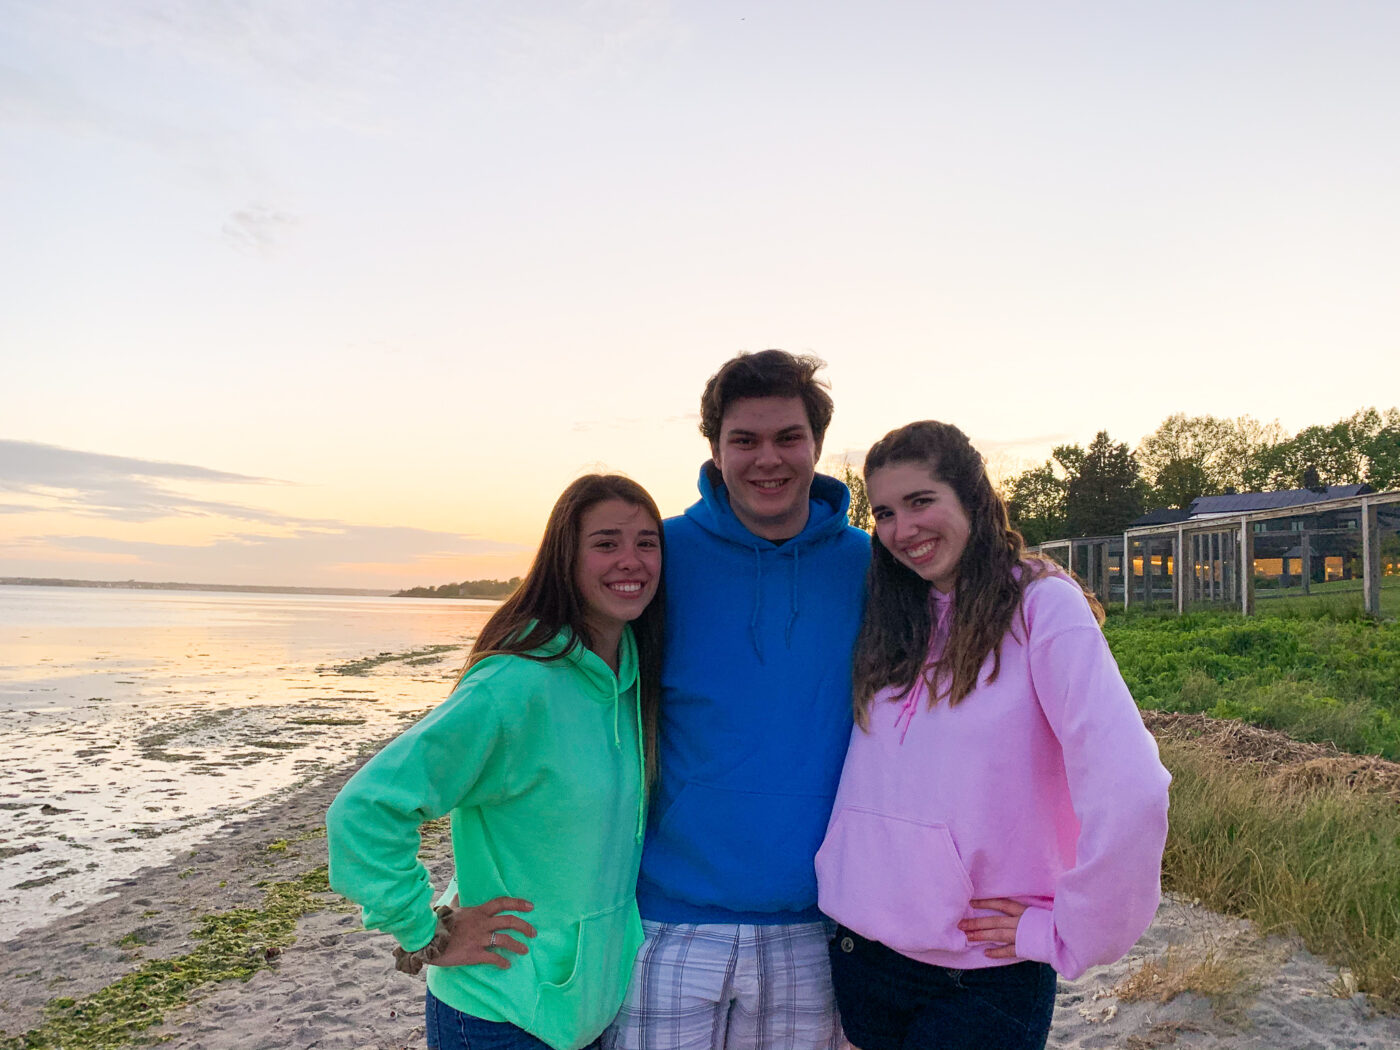
I absolutely loved how these came out and seeing my friends and family wear them, post about them and love them makes me so happy. The process of making these was a lot of work, and took a long time to get to the finish, but it was completely worth it and I can’t wait to make more designs.
I hope that this helped you if you are interested in making it design, whether it be for a shirt of for a logo. It is so much fun to put your creativity to work and create something new. If you liked this blog, remember to subscribe for email notifications and also follow me on Instagram! Thank you so much for your endless support. Stay safe!
Signed,
Ashlyn
Now that’s some nice merch!